
How to Install Vertical Blinds: A Step-by-Step Guide
Learning how to install vertical blinds generally involves measuring an opening, positioning mounting brackets on it, securing its headrail, attaching vanes, and testing its operating mechanism

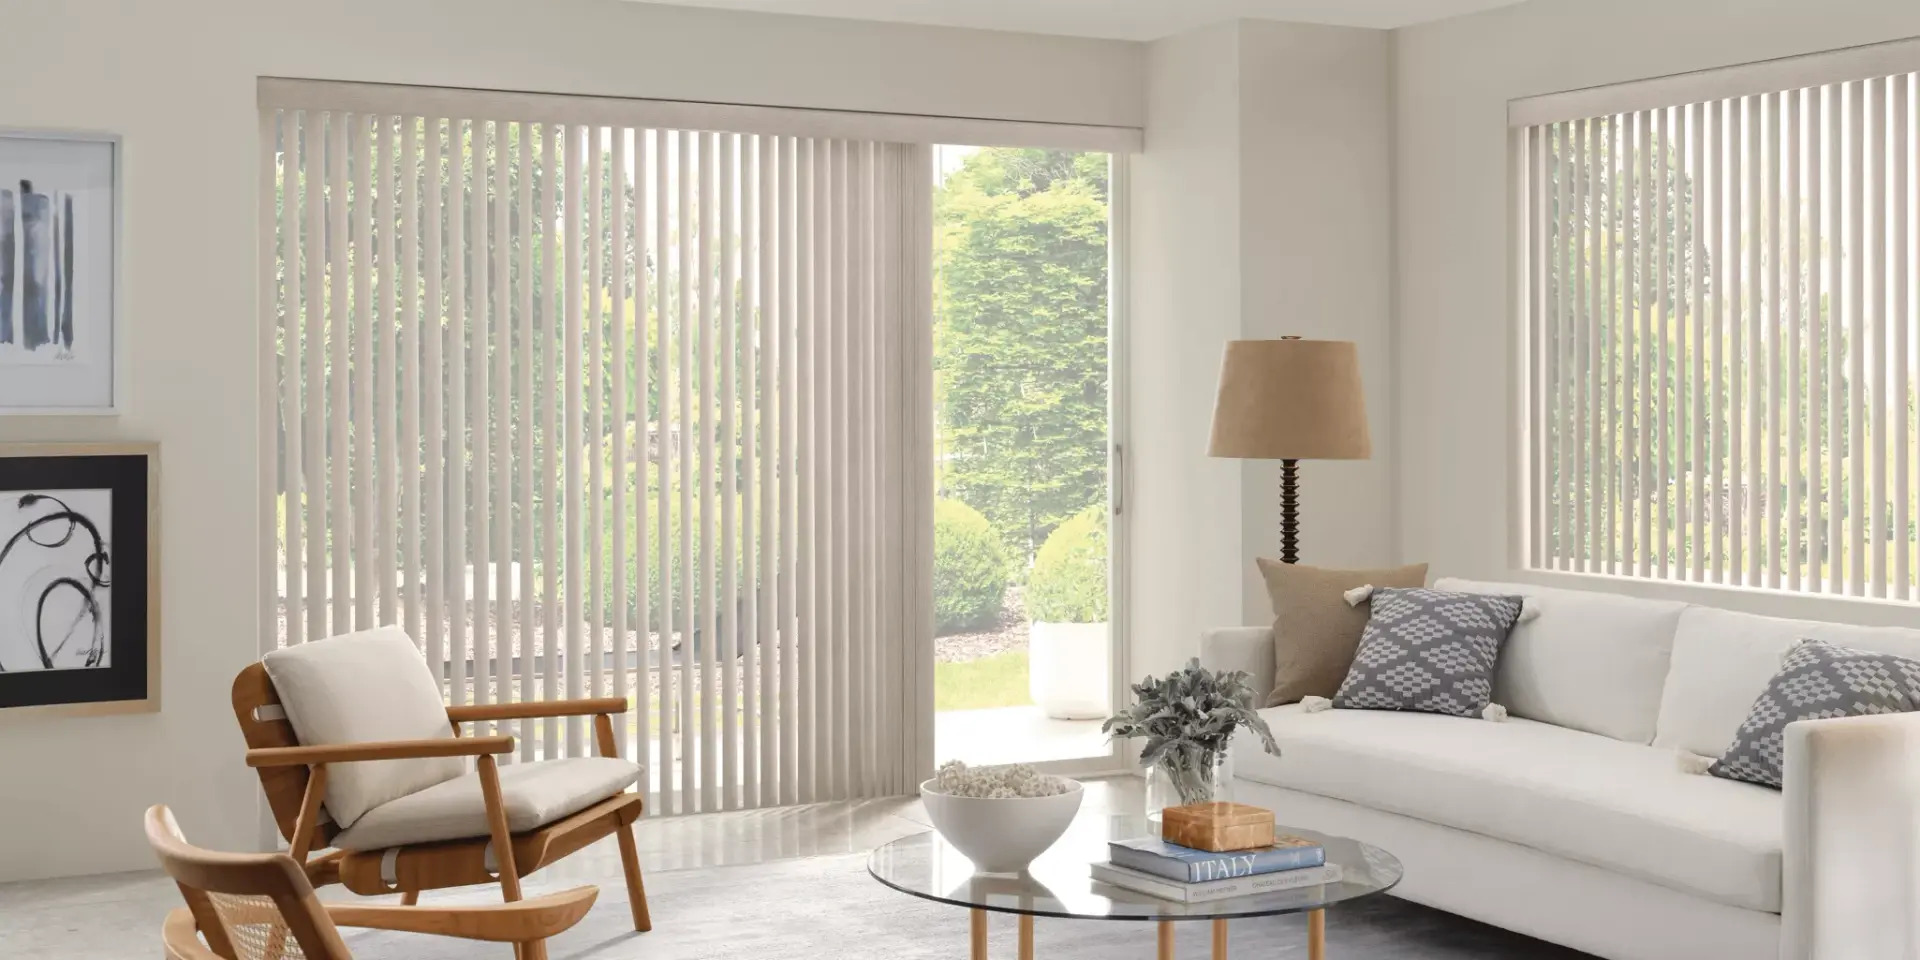
Table of Contents
What You Need Before Installing Vertical Blinds
How to Install Vertical Blinds
Inside Mount vs. Outside Mount
Common Installation Mistakes to Avoid
Blackout Blinds: What to Know Before Installation
Types of Blackout Blinds
FAQs
AI Overview
Learning how to install vertical blinds generally involves measuring an opening, positioning mounting brackets on it, securing its headrail, attaching vanes, and testing its operating mechanism. Since each manufacturer and mounting system can vary greatly in their process of installation, always follow product instructions when attempting this project. Blackout blinds must take into account edge coverage as well as any specific mounting system; custom products like Haven Shades use an alternative installation method that does not involve drilling for edge coverage.
What You Need Before Installing Vertical Blinds
Before starting, check the blind package and make sure all components are present. A typical vertical blind installation may require a headrail, mounting brackets, vanes, a valance, an operating mechanism, screws, and other hardware.
You may also need:
Metal tape measure
Pencil
Drill and suitable drill bit
Screwdriver
Level
Ladder or step stool
Appropriate wall anchors, when required
Fasteners may differ depending on the surface you are installing in. Wood, drywall, metal, and masonry all require different fixing methods; do not assume supplied screws will fit all surfaces. Manufacturer installation guides also recommend inspecting mounting surfaces to determine which hardware would best serve their installation process.
Before drilling, check your operating area thoroughly to make sure there are no obstacles such as window handles, door frames, furniture, or other obstacles preventing vanes from turning freely across their tracks.
How to Install Vertical Blinds
If you're learning how to install vertical blinds, the process is relatively straightforward when you have accurate measurements and the correct hardware.
1. Mark the Bracket Positions
Start by determining where the headrail will sit based on the product; there may be an inside mount, outside mount, top-fix, or face-fix installation option available to you.
Mark the bracket locations according to your manufacturer's template or instructions. For vertical blind systems, more brackets should be uniformly spaced across greater apertures, and outer brackets should be placed a short distance from either end of the headrail.
Make use of a level to check that all marks are aligned correctly; uneven brackets can hinder how easily and smoothly a blind runs.
2. Secure the Mounting Brackets
Drill pilot holes where necessary and secure your brackets using appropriate screws and anchors for your mounting surface.
Do not depend solely on drywall to support heavy blinds; use anchors or secure your bracket to a suitable structural point for maximum support.
Wider vertical blinds may require additional brackets; their exact number depends on both their width and manufacturer specifications.
3. Attach the Headrail
Once your brackets have been properly mounted, install your headrail within them. On some models, this process involves inserting only the front side into the brackets while rotating or forcing its back side until it locks properly into position.
Avoid forcibly attaching the headrail; if it doesn't fit correctly, remove it and check your brackets.
4. Attach the Vanes
Next, arrange the carrier stems in the headrail. This can be done using the wand, chain, or cord to align the stems such that the slots point in the right direction.
Now, take each blind vane and insert the top part of the vane into the carrier stem. This should be done for all the carrier stems along the headrail.
It will help if you ensure that the vanes are properly aligned and hanging in the right direction.
5. Install the Valance
If your vertical blinds come equipped with a valance, secure it according to the manufacturer's instructions by attaching the supplied clips or holders, and attaching any necessary clips or holders that come included with your vertical blinds.
Valances are predominantly decorative; however, they also add a completed appearance by concealing parts of the headrail and mounting hardware.
6. Test the Blinds
Before considering the installation complete, test both functions.
The vanes should rotate smoothly without catching on the frame, while the carriers should move across the headrail without excessive resistance.
Open and close the blinds several times and check:
The headrail remains firmly secured.
All vanes rotate correctly.
The vanes move smoothly along the track.
Nothing interferes with the window or door.
The operating mechanism works as intended.
If anything feels unusually stiff or misaligned, stop and check the installation rather than forcing the mechanism.
YouTube link: https://youtu.be/EWrF7eguaJM?si=Sq_UsRc5f0laRxJn
Inside Mount vs. Outside Mount
The mounting style can affect both appearance and light coverage.
Mounting style | Best suited for | Main consideration |
Inside mount | Recessed window openings | Requires sufficient depth and clearance |
Outside mount | Shallow recesses or more extensive coverage | Can cover more of the surrounding frame |
Top fix | Ceiling or top surface mounting | Requires a suitable overhead fixing surface |
Face fix | Wall or window-frame mounting | Check clearance for vane rotation. |
For indoor installations, measure your available depth carefully to allow enough room for vanes to move without striking windows, handles, or surrounding surfaces.
Outside mounting can be useful when you want your blind to extend past its opening; however, it should follow manufacturer-recommended measurements for precise overlap.
Common Installation Mistakes to Avoid
A few small mistakes can affect how well vertical blinds operate.
Skipping accurate measurements: An incorrectly sized blind may not cover the opening properly.
Installing brackets unevenly: This can leave the headrail tilted or unstable.
Ignoring clearance: Window handles and nearby objects can interfere with vane movement.
Using unsuitable screws: The fixing method should match the mounting surface.
Forcing the headrail: If it does not click into place, check the brackets.
Attaching vanes incorrectly: Make sure every vane is fully secured to its carrier.
Skipping the final test: Always operate the blind several times before finishing the installation.
Blackout Blinds: What to Know Before Installation
Installation of the blackout blinds must be done with greater emphasis on covering, since a slight gap around the window would allow light into the room.
When your concern involves minimizing light in a bedroom, nursery, media room, or office at home, you need to look not only at the material used but also at how the blind covers the windows.
A blackout blind mounted with big gaps around the sides will allow light to enter from the sides despite the material used.
When comparing custom blackout blinds, it is important to consider more than just the fabric. Look into how the product blocks out light at the edges and how the product is mounted onto the window you have.
For a traditional blind, follow the manufacturer's specific blackout blinds installation guide rather than applying generic vertical blind instructions.
Types of Blackout Blinds
There are several types of blackout blinds, and the best option depends on the window, room, and level of light control required.
Type | Suitable for | Key consideration |
Blackout roller blinds | Bedrooms and standard windows | Simple design and strong light control |
Blackout cellular shades | Windows and larger openings | Combines blackout fabric with a structured shade |
Blackout Roman shades | Bedrooms and living areas | Softer decorative appearance |
Blackout vertical blinds | Wide windows and sliding doors | Side-to-side operation |
Custom blackout shades | Unusual or specific window sizes | Designed around exact dimensions |
For shoppers who want a custom-fit blackout solution, Haven Shades offers a made-to-measure blackout shade designed around the dimensions of the window.
The Premium Blackout Haven Shade is made using a tension frame system and is designed for installation without drilling holes. Instructions provided by Haven describe how to test the tension, assemble the side pieces, align the parts, attach the corners, insert the shade into the window space, and adjust everything with padding if needed.
You can view the Haven Shades installation guide before ordering to understand the fitting process.
For product details, see the Premium Blackout Haven Shade.
This type of installation differs from conventional drilled vertical blinds, so it is important not to apply standard bracket instructions to a product that uses a different mounting system.
FAQs
How difficult is it to install vertical blinds?
Installing vertical blinds is generally manageable as a DIY project when measurements and mounting points are accurate. The main steps involve securing brackets, attaching headrails, installing vanes, and testing operating mechanisms.
How do you install vertical blinds on a sliding door?
The process for doing so is similar to window installation; however, you need to account for larger openings and the direction in which vanes stack. Also ensure the headrail is supported adequately so as to not interfere with door operation.
Can vertical blinds be installed without drilling?
Some traditional vertical blinds require drilled brackets, while certain modern shade systems use alternative mounting methods. Always check the specific product before assuming it can be installed without drilling.
Do blackout blinds need special installation?
No. However, blackout blinds require careful installation, as gaps around their edges can allow light in. Always follow manufacturer installation instructions carefully and pay special attention to fitting around windows.
What are the different types of blackout blinds?
Popular blackout blind options include roller blinds, cellular shades, Roman shades, vertical blinds, and custom blackout shades. Choosing the right option depends on factors like window size, desired look, and how much light you want to control.
Can I buy custom blackout blinds online?
Absolutely. Custom blackout blinds can be found from various manufacturers online, and before ordering it is important to research how the company handles measurements, customization, installation, returns, and product-specific fitting requirements.
Subscribe to our Newsletter
Stay updated with sleep guides, bedroom decor inspiration, and exclusive product news.
Jonas
Contributing writer and editor specializing in light control, bedroom aesthetics, and modern sleep science.


